
Asbestos in 1970s Home Renovation: A Safety Guide
Table of Contents
Why Asbestos Was Common in 1970s Homes
Common Asbestos-Containing Materials in 1970s Construction
The high-probability materials in a 1970s house
Room-by-room pre-renovation inspection sequence
Asbestos in walls, ceilings, and joint compound
Asbestos in flooring, insulation, and roofing
Asbestos Testing Before Renovation: When and How
How Professional Sampling and Laboratory Analysis Work
Asbestos Popcorn Ceiling Testing and Identification
What to Do If You Find Asbestos During Renovation
Decision tree: suspected, confirmed, or already disturbed
Stopping work and containing the area
Coordinating with your renovation contractor
Professional removal and disposal requirements
Renovation Risk: How Disturbance Happens and How to Prevent It
Frequently Asked Questions
Last Updated: October 16, 2026
Why Asbestos Was Common in 1970s Homes
Asbestos in 1970s home renovation is a critical safety concern: builders prized it for heat resistance, durability, and affordability, mixing it into countless products without labeling or health warnings.
Asbestos in 1970s home renovation peaked during residential construction in that era. The EPA began regulating it in 1973, but it stayed legal and common in many products through the decade; restrictions tightened in the 1980s.
Disturbing asbestos-containing materials during demolition or remodeling releases dangerous fibers, so knowing where asbestos hides is the first step toward safe planning.
We help homeowners and contractors identify potential asbestos hazards before work begins, so projects proceed safely.
Common Asbestos-Containing Materials in 1970s Construction
Asbestos-containing materials appeared in nearly every system of a 1970s home, but not evenly. Some rooms carry far higher odds, so inspect the high-probability zones first.
The high-probability materials in a 1970s house
Joint compound and drywall tape used to finish wall and ceiling seams
Textured ceiling coatings (popcorn or acoustic ceilings)
Vinyl floor tiles and the mastic under them, plus sheet vinyl backing
Pipe insulation, boiler jackets, and furnace flue wrap
Roofing felts, shingles, and cement roof panels
Cement siding, soffit, and fascia boards
Loose-fill and batt insulation in attics and wall cavities
Heat-resistant gaskets, door seals, and electrical panel components
Room-by-room pre-renovation inspection sequence
Work through the home in this order, front-loading areas where disturbance is most likely and fiber release hardest to contain.
1. Basement and mechanical room (highest priority). Start at the boiler, furnace, and water heater.
2. Attic. Check loose-fill insulation depth and texture, and look for pebbly, granular vermiculite, commonly sold under brand names in the 1970s.
3. Kitchen. Focus on the floor (tile and mastic), backsplash, and drop-ceiling panels.
4. Bathrooms. Floor tile and mastic again, plus wall tile adhesive and any pipe chase insulation behind the vanity or toilet.
5. Living areas, bedrooms, and hallways. Popcorn ceilings, joint compound at drywall seams, and textured wall finishes.
6. Exterior. Roofing, siding, soffit, fascia, and cement board.
Pro Tip Photograph each suspect material in place before you touch anything. A dated photo log with room, location, and approximate square footage makes the testing quote faster and gives your contractor a clear scope.
Asbestos in walls, ceilings, and joint compound
Joint compound, or drywall mud, was a primary source of asbestos in 1970s homes. Contractors used it to tape seams and finish walls, and some formulations contained asbestos for strength and fire resistance.
Textured ceiling coatings are another common concern. Many 1970s homes have popcorn ceilings sprayed with asbestos-containing material, popular because they hid imperfections and dampened sound.
Wall insulation behind drywall may also contain asbestos. Older homes sometimes have asbestos-containing loose-fill insulation blown into wall cavities, a risk when walls are opened with a sawzall or oscillating tool that throws debris.

Asbestos in flooring, insulation, and roofing
Floor tiles and their adhesives frequently contained asbestos. Vinyl floor tiles from the 1970s often had asbestos in both the tile and the mastic bonding them to the subfloor.
Pipe insulation and boiler coverings were another major residential use, insulating and fireproofing hot water pipes and boiler jackets. They remain a hazard if pipes are removed or disturbed, and are among the most friable materials you will encounter.
Roofing materials and shingles from the 1970s frequently contained asbestos, as did cement products for roofing, siding, and exterior finishes. Damaged or aging roofing may shed fibers during removal or repair. Exterior cement products are generally non-friable when intact, but cutting, grinding, or breaking them creates a fiber-release problem.
Watch Out Do not assume a material is safe because it looks intact or because a previous owner left it in place. Intact does not mean asbestos-free. Only laboratory analysis of a properly collected sample can confirm what a material contains.
Asbestos Testing Before Renovation: When and How
Testing is essential before any major renovation on a 1970s home. Professional asbestos testing identifies suspected asbestos-containing materials and confirms their presence through laboratory analysis, protecting your health and ensuring compliance with local regulations.
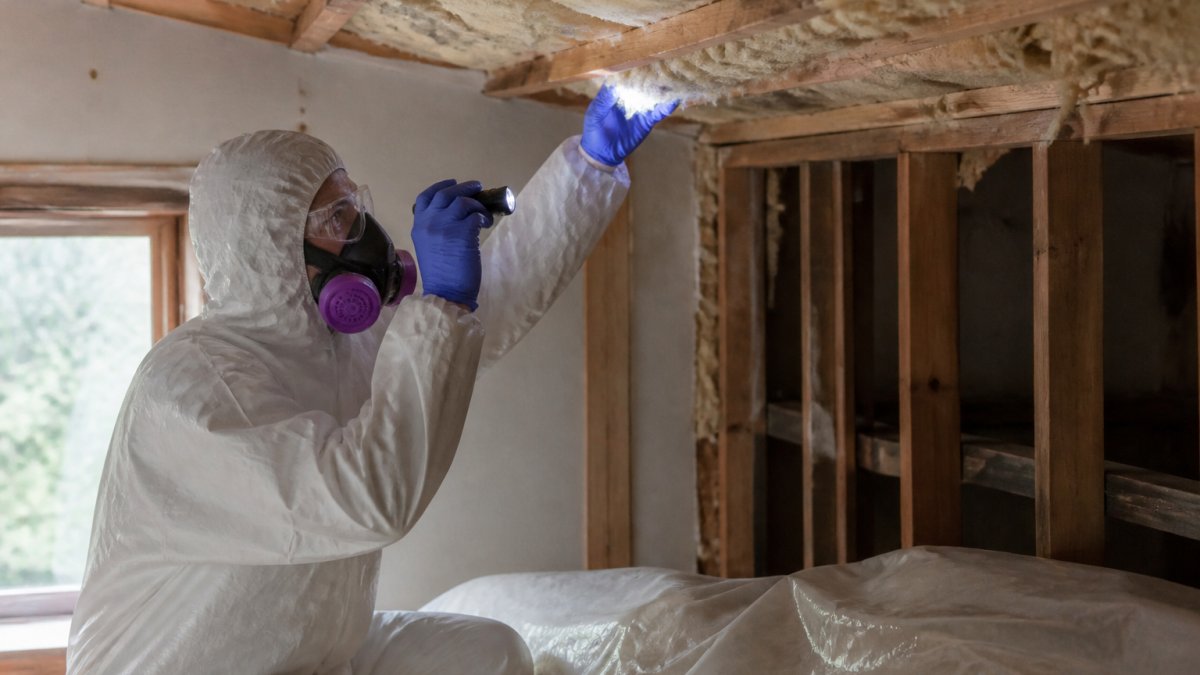
The process begins with visual inspection and sampling: an inspector collects small samples from suspect materials and sends them to a laboratory for analysis.
You should pursue testing if your renovation plans involve:
Removing or disturbing walls, ceilings, or floors
Working with pipe insulation or boiler coverings
Removing roofing materials or siding
Opening walls for electrical or plumbing work
Demolition of any interior or exterior elements
How Professional Sampling and Laboratory Analysis Work
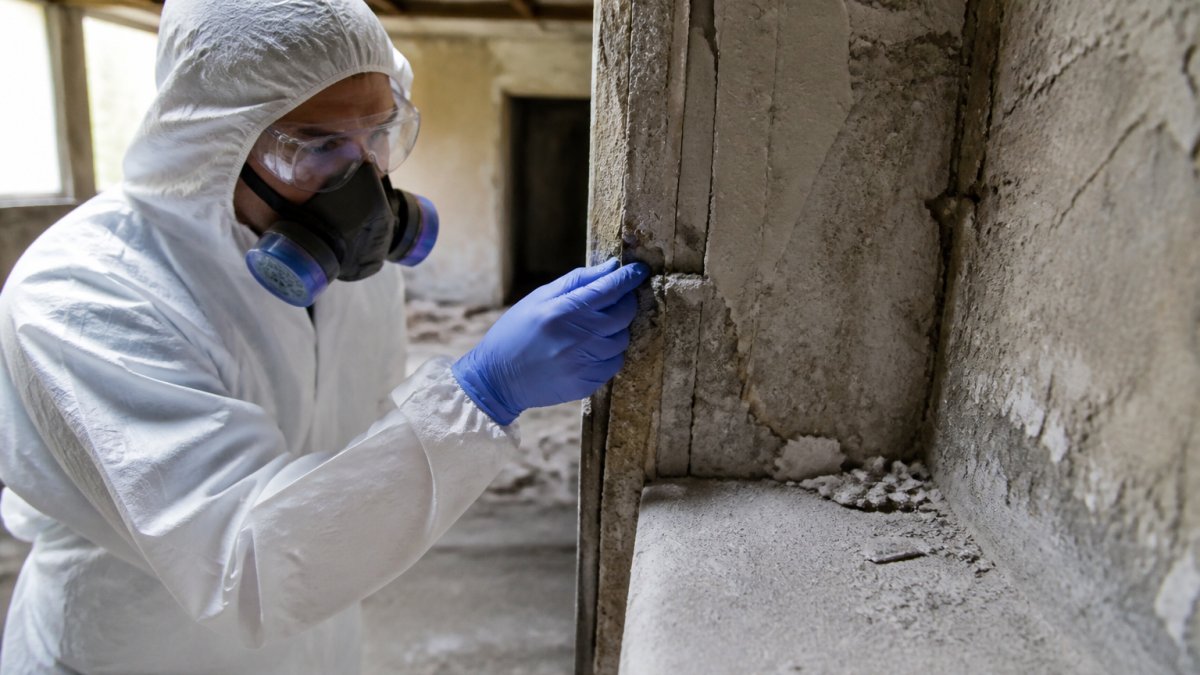
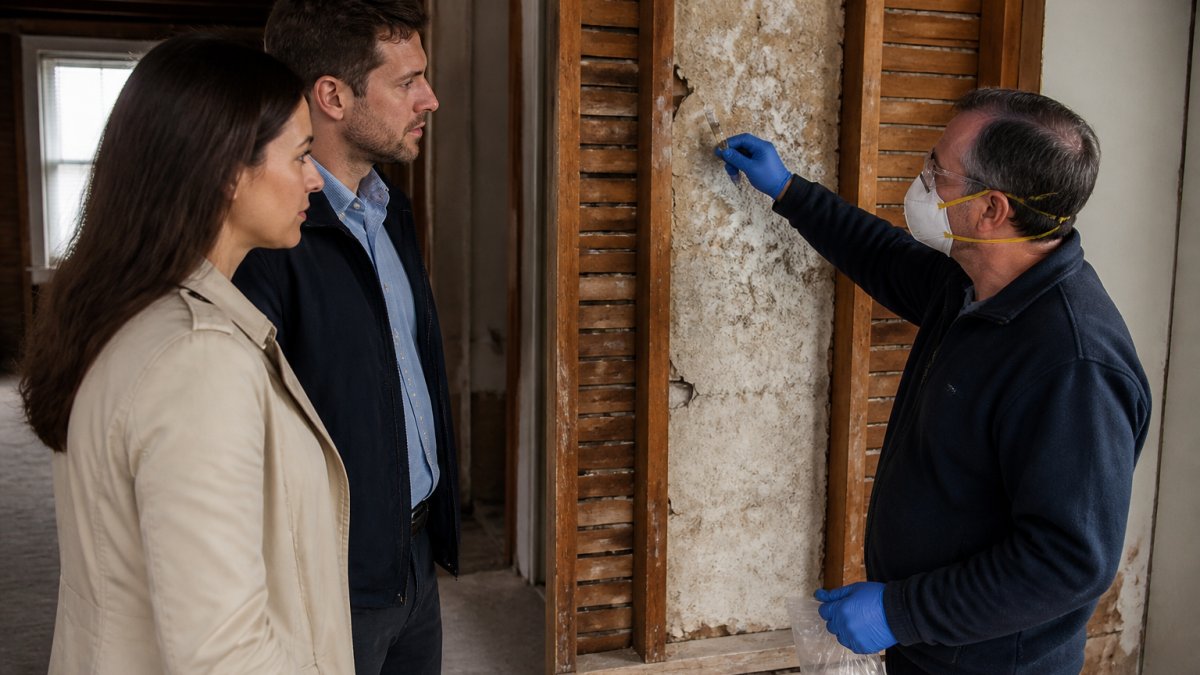
Professional sampling collects small material samples from suspected areas using technique that prevents fiber release during collection. Samples are labeled and sealed for transport to a certified laboratory.
Laboratory analysis uses methods depending on material type; polarized light microscopy is standard for bulk samples. A technician prepares the sample and examines it under a microscope to identify asbestos fibers and estimate their percentage.
Results typically arrive within 5-10 business days, with a report identifying whether asbestos is present, the type (chrysotile, amosite, crocidolite), and the estimated percentage.
Professional testing delivers clear, accurate reporting you can act on, identifying materials requiring further investigation so you know exactly what your renovation team must address.
Asbestos Popcorn Ceiling Testing and Identification
Popcorn ceilings are a signature feature of many 1970s homes, but appearance alone doesn't confirm asbestos. Testing is the only way to know for certain.
Visual inspection can suggest risk: popcorn ceilings installed before the mid-1980s are more likely to contain asbestos.
Professional testing collects a small sample of the popcorn material, removed carefully and sent to a laboratory. Results confirm whether asbestos is present and at what concentration.
If testing confirms asbestos in your popcorn ceiling, you have options:
Leave the ceiling intact if it remains in good condition
Encapsulate the ceiling with a protective coating
Have the material professionally removed by a licensed contractor
Plan renovation work around the asbestos-containing material
Do not attempt to scrape, sand, or disturb a popcorn ceiling suspected of containing asbestos. This action releases fibers into the air and creates serious health exposure.
What to Do If You Find Asbestos During Renovation
Discovering a suspect material mid-renovation is common, and the right response depends on three things: whether the material is confirmed, whether it is damaged, and whether work has already disturbed it. Use the decision tree below rather than reacting on instinct.
Decision tree: suspected, confirmed, or already disturbed
Scenario A, You suspect a material but work has not touched it. Stop work in that area only. Do not cut, sand, drill, or pry the material. Photograph it in place, note the room and location, and call a licensed inspector to sample it.
Scenario C, Testing confirms asbestos and the material is damaged or friable. Treat this as an active hazard. Stop work, isolate the area, and bring in a licensed abatement contractor.
Scenario D, Work has already disturbed the material and you are unsure of the extent. Stop immediately, keep people out of the area, and arrange for air sampling and a professional assessment before anyone reoccupies the space.
Stopping work and containing the area
First, stop all work in the affected area immediately and prevent workers from disturbing the material further.
Evacuate non-essential personnel. Anyone who worked in the space should leave, remove and bag contaminated clothing, and shower thoroughly to remove fibers from skin and hair.
Seal off the work area to prevent fiber spread. Close doors and windows, use plastic sheeting with taped seams to isolate the space, and cover any forced-air vent.
Document what was found and where. Take photos if possible, and note the extent of disturbance and any visible fiber release. This guides next steps and supports any insurance or contractor discussion later.
Watch Out Do not use a standard shop vacuum, broom, or household vacuum on asbestos debris. These machines exhaust fine fibers back into the air. Only HEPA-filtered equipment operated by trained personnel should be used.
Coordinating with your renovation contractor
If a general contractor or tradespeople are on site, the discovery changes the project scope. Brief everyone on the location and boundaries of the suspect material, and confirm in writing that no work proceeds in that zone until testing or abatement is complete. Ask how they handle asbestos discoveries, a professional will have a written protocol, and a hesitant answer is a red flag.
Expect schedule and cost impacts. Testing typically adds several business days; abatement adds more time and requires the area to be cleared and often a clearance inspection before other trades return. Build this into your timeline rather than working around it.
Professional removal and disposal requirements
Contact a licensed asbestos abatement contractor for removal and disposal. Asbestos removal is heavily regulated and requires specialized training and equipment. Do not attempt it yourself.
A licensed contractor will typically:
Assess the extent of asbestos-containing material present
Develop a removal plan that minimizes fiber release
Build containment with plastic sheeting and negative air pressure
Use appropriate personal protective equipment and respirators
Wet the material and remove it in sealed bags or wrapped bundles
Dispose of asbestos waste at an approved facility
Provide documentation of proper disposal
Disposal follows strict regulations: asbestos waste cannot go into regular trash or standard landfills. Licensed facilities accept it and handle it per environmental regulations, and many require it wetted, double-bagged, and labeled before arrival.
After removal, request a clearance inspection. An independent air quality test confirms fibers have been removed and the area is safe for reoccupancy. Do not let other trades back in until clearance is documented.
Key Takeaway When in doubt, stop and test. The cost of a sample analysis is trivial compared to the cost of abatement, medical monitoring, or a failed clearance, and no renovation deadline is worth a fiber release.
Renovation Risk: How Disturbance Happens and How to Prevent It
Asbestos-containing materials pose minimal health risk when left undisturbed and in good condition. Renovation work creates the real danger: cutting, drilling, sanding, or demolishing materials releases fibers into the air.
Common renovation activities that disturb asbestos include:
Removing drywall or ceiling materials
Sanding or scraping joint compound
Cutting through insulation or pipe coverings
Demolishing walls or floors
Drilling holes through asbestos-containing materials
Replacing roofing or siding
Opening walls for electrical or plumbing upgrades
Prevention starts with pre-renovation assessment. Test suspected materials before work begins.
Contractor coordination is essential.
Use work methods that minimize fiber release. Wet cutting and drilling produce fewer airborne fibers than dry methods, and containment barriers and HEPA filtration further reduce exposure. Professional contractors apply these techniques routinely.
Discovering asbestos in your 1970s home renovation can feel overwhelming. The good news is that professional guidance and proper procedures make the situation manageable.
Frequently Asked Questions
Should I test for asbestos before renovating an older home?
Yes. If your home was built in the 1970s or earlier, asbestos-containing materials are likely present in walls, ceilings, flooring, insulation, or roofing. Testing before renovation prevents accidental disturbance of asbestos fibers, which poses serious health risks. A professional asbestos inspection identifies materials requiring safe handling or professional removal before your contractor begins work. This protects your family, workers, and ensures compliance with regulations.
What should I do if I uncover suspected asbestos during renovation?
Stop work immediately. Isolate the area and prevent anyone from entering. Do not disturb the material further. Contact a licensed asbestos professional to assess the material and determine next steps. If asbestos is confirmed, a licensed abatement contractor must handle removal or encapsulation. Document everything with photographs and written reports. Never attempt DIY removal, airborne asbestos fibers pose serious health risks and violate regulations.
Do all popcorn ceilings from the 1970s have asbestos?
Not all, but many do. Popcorn ceiling coatings applied before the 1980s frequently contained asbestos for fire resistance and insulation. The only way to know is laboratory testing. A professional can collect a sample from your ceiling without disturbing the material, then send it to a lab for analysis. If asbestos is present and you plan renovation, professional removal is required before any ceiling work begins.
How long does asbestos testing take, and when will I get results?
Professional sampling typically takes 1-2 hours on site. The inspector collects small samples from suspected materials using controlled techniques. Samples are then sent to a certified laboratory for analysis, which usually takes 3-7 business days depending on the lab's workload. You'll receive a detailed report identifying any asbestos-containing materials, their location, and condition. Plan your renovation timeline accordingly, especially if removal is needed.
Schedule an Inspection
Comments